How to Blur a Face in a YouTube Video After Uploading
Blur a face in an uploaded YouTube video with Studio. Choose face or custom blur, check moving faces, and review playback and thumbnails before sharing again.
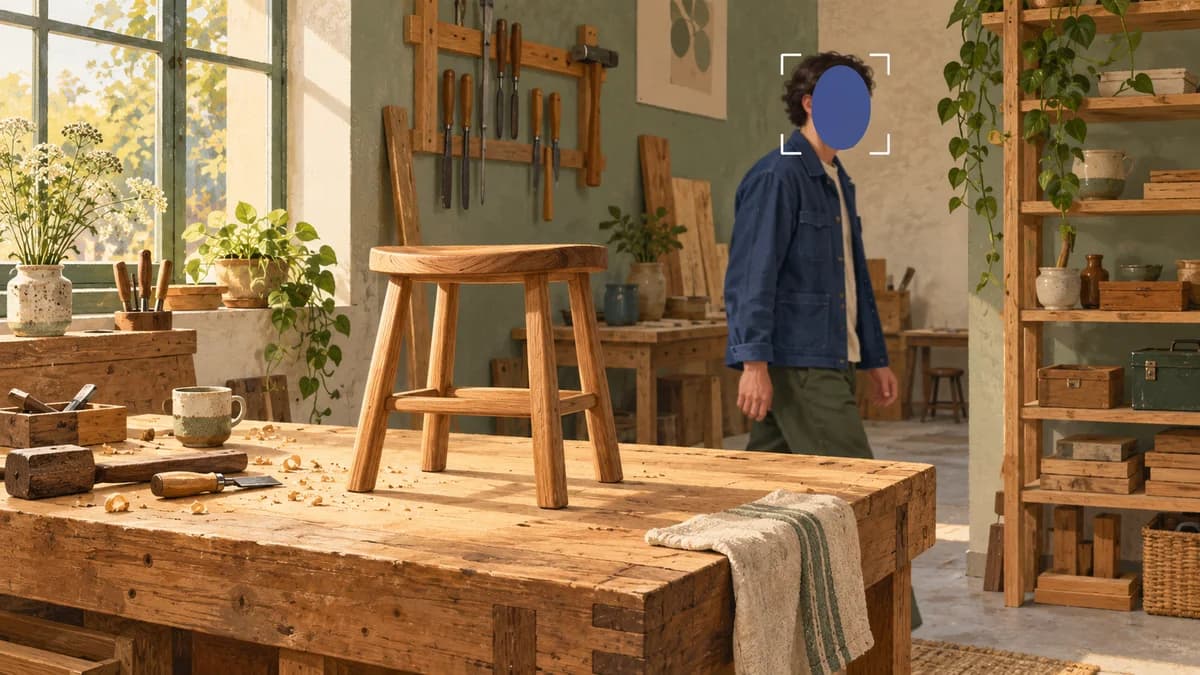
Illustrative scene: a workshop visitor’s face is marked for coverage while the stool-making project stays visible.
You can blur a face in an uploaded YouTube video from YouTube Studio on a computer. Open the video’s Editor, choose Face blur or Custom blur, and check the coverage before saving. If the face shouldn't currently be public, make the video Private while you correct it. Review the saved playback and thumbnail before sharing it again.
Imagine you've uploaded a workshop tour. A visitor who didn't want to appear walks behind your workbench, disappears behind a shelf, then returns near the doorway. You need to cover both appearances without blurring the tools you're explaining. That means checking where the blur sits and when it appears, including the visitor's return.
First, decide whether to restrict the upload
If you've found an unwanted face in a public video, pause public viewing while you work. In Studio, open Content, find the video, change Visibility to Private, and save. Confirm the saved setting before moving into the editor.
YouTube's visibility settings distinguish Private from Unlisted: anyone with an unlisted link can watch and reshare it. Private limits viewing to you and people you choose. Check any existing private invitations, too.
This won't recall copies someone already saved. It does give you time to inspect and correct the upload without deliberately leaving it public. If another person is affected, tell them which appearance you're fixing and agree on whether a blurred version is acceptable.
Keep your original project or source video somewhere you control before editing. YouTube's Studio blur instructions say that saved editor changes can no longer be undone through Revert to original. Don't rely on that older recovery option.
If the video hasn't been uploaded yet, consider finishing the face edit locally first. Private still means providing the file to YouTube; its systems and reviewers may review private videos. There's no need to upload an untreated source just to use this tutorial.
Choose Face blur or Custom blur
Start by noting every interval you need to change. For the imaginary workshop clip, your note might say: “visitor at the workbench, 00:18–00:21; visitor returns at doorway, 00:24–00:27.” These are example timings, not a tested clip.
| What you see | Start with | What to inspect |
|---|---|---|
| A face offered in the detection results | Face blur | Every appearance of that person |
| A missed face or reflection | Custom blur | Coverage and timing through the whole interval |
| A detail staying in one screen position | A fixed custom area | Whether the camera moves afterward |
| A face repeatedly crossing obstructions | A short trial edit | Whether corrections remain manageable |
The last row is a decision point. If you spend more time chasing missed frames than fixing the shot, return to the source project. An opaque cover or a removed shot may be easier to review. The face-hiding method comparison can help you choose that alternative.
Apply the blur in Studio
Follow YouTube's current blur controls:
- In Content, select your video, then Editor.
- Choose Blur → Face blur. After analysis, select the intended faces and choose Apply.
- For an area you need to place yourself, choose Custom blur. Position and resize its rectangle or oval.
- Adjust the timeline ends to control its duration. Use Track object for moving coverage or Fix blur position for a stationary area.
- Preview your changes, correct gaps, then Save when ready.
Don't pick faces solely from memory. Compare the choices with the video so you don't cover the presenter while leaving the visitor exposed. A small or side-on appearance deserves its own check even if another view of the person was selected successfully.
YouTube notes a saving restriction for some unedited videos above 100,000 views, with an exception for face blurring; Partner Program channels are exempt. If Studio blocks an edit, read the message before planning further changes.
Check the start, obstruction, and return
A blur can look correct in the middle of a shot and still miss the first moment a face appears. Start playback before the affected interval and continue beyond it. Then move slowly through the entry and exit, checking the face's outer edges as well as its center.
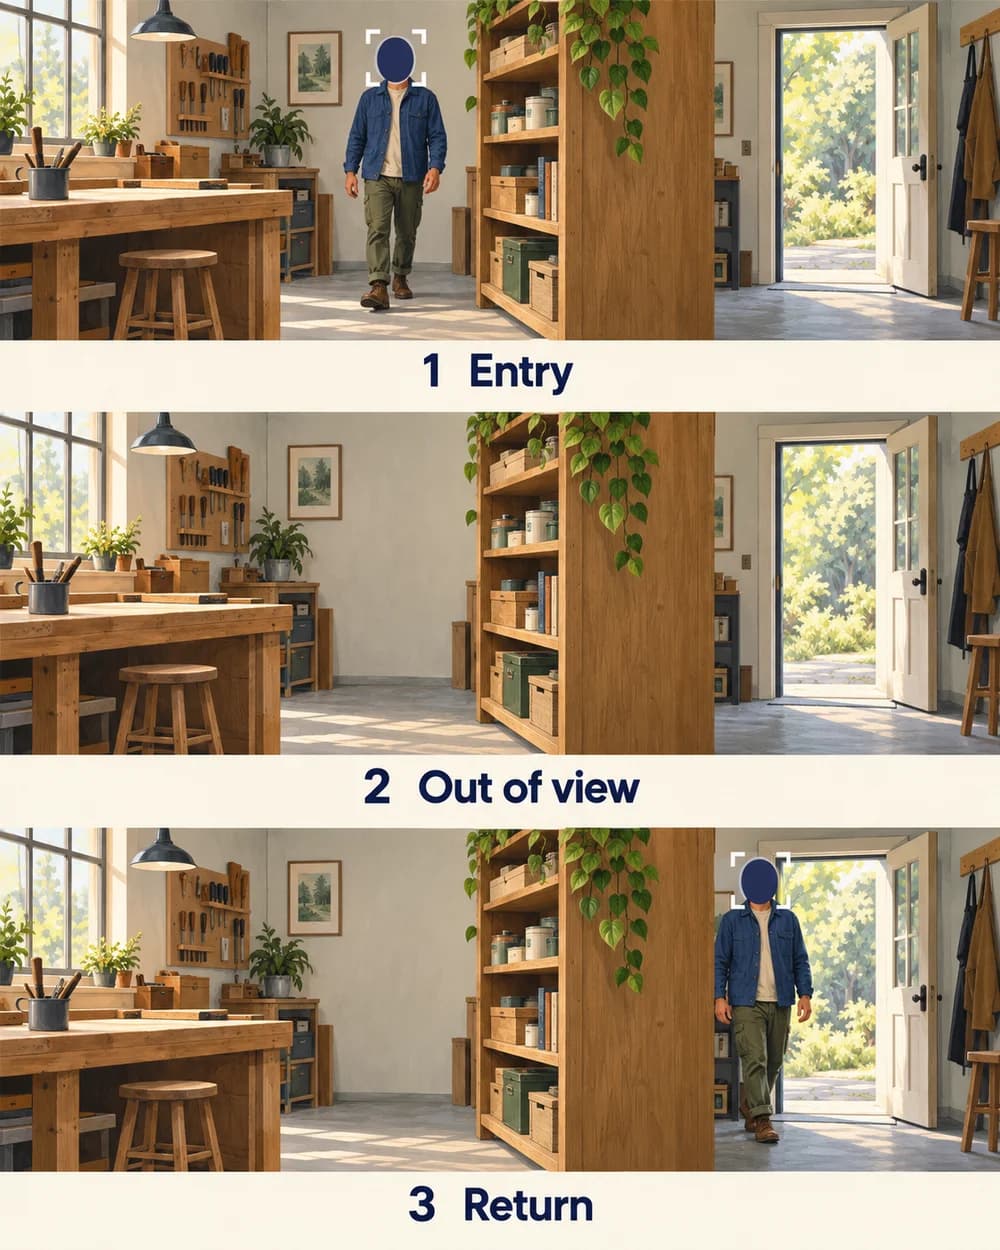
In the workshop example, pay particular attention to the shelf. While the visitor is hidden, you can't judge coverage by looking at the shelf itself. Continue until they reappear and check that the face is covered from the first visible moment.
Review these changes in the shot:
- The person turns sideways. Look for an uncovered cheek or eye near the blur's edge.
- The person gets closer. Check whether the covered area is still large enough.
- The camera pans. Watch the person and the blur together, even if the person is standing still.
- A second person crosses in front. Confirm whose face is covered after they separate.
- The shot cuts. Check the first frame of the next shot without assuming the previous treatment continues correctly.
Use a short note for each remaining problem: a time, what is visible, and the correction you need. “00:24, face visible at doorway before coverage starts” is something you can fix. “Tracking looks odd” is harder to act on.
After a correction, replay the surrounding interval. Adjusting one endpoint to catch the return could leave an unwanted blur over the presenter later. Review both the privacy concern and whether the edited lesson still makes sense.
For a scene with several people, use the separate multi-face and bystander workflow to decide who needs which treatment. This tutorial handles the Studio operation once that decision is clear.
Review the saved video and its thumbnail separately
Saving is the start of your final check. Wait for Studio to finish processing, then reopen the video's watch page while signed in with access. Play the affected sections there. If you still see the untreated appearance, keep the video private and investigate before restoring visibility.
Don't approve the result solely from the small editor preview. View it at a useful size, pause at the moments you noted, and inspect each available quality setting that you expect your audience to use. You don't need a promised processing time to make this decision: you need to see the intended correction in the saved playback.
Next, inspect the thumbnail as its own image. Open the video details and look at the selected cover. If it exposes the person, choose a suitable alternative or upload a prepared cover where your account supports it. YouTube's thumbnail help explains the available controls and notes that changes may take time to appear.
For the workshop example, a close view of the finished object may make a clearer cover than a wide shot containing the visitor. Choose an image that explains the video without creating another face-editing task.
Check related copies you control: a short teaser, an exported still, a social post, or a file already sent to a collaborator. Correct those separately where needed. Keep this list focused on actual uses of the affected footage rather than starting an unrelated account audit.
When to prepare a new file instead
Stop repairing the Studio version if you can't get dependable coverage, if the face remains recognizable in the result, or if too much of the useful action must be obscured. Keeping the existing upload isn't worth publishing a version you can't approve.
Go back to your source editor and choose the simplest workable change:
- Cut the brief appearance if the explanation still works without it.
- Crop the shot if the subject and important action remain visible.
- Use a complete opaque cover when hiding the area matters more than showing what is behind it.
- Reshoot a short explanation when the repair would be more distracting than a new take.
Watch the resulting export before uploading. For a clip that needs a natural-looking creator presentation rather than a blur, the NeoFace workflow supports anonymizing photos or prerecorded video, reviewing the result, and downloading it. Treat that as preparation for a new upload. It doesn't edit a video already inside YouTube, and the voice and surroundings still need their own review.
A new export also changes the publishing task. YouTube doesn't let you replace an uploaded file at the same URL; a fresh upload receives a new link. Check the new version before updating embeds, scheduled posts, and links you control. Decide what should happen to the old upload deliberately, especially if people still have its address.
For future shoots, keeping a short list of unwanted appearances beside the editing project makes this work easier. You can correct the source before it becomes the video, cover image, and three different teasers.
Before you make it public again
Use this short release check for the correction. For a broader review of the whole file, use the faceless video privacy checklist.
- Every noted appearance is covered, including reflections and returns.
- Entry, exit, turns, obstructions, and cuts have been reviewed slowly.
- The intended people remain visible or hidden as agreed.
- Saved watch-page playback shows the correction.
- The selected thumbnail is suitable to share.
- Other copies containing the same appearance have been checked.
- Any new-upload links point to the reviewed version.
- The final visibility setting matches the audience you intend.
If one item fails, leave the video private and return to that specific correction. Once the review passes, restore your intended visibility and check the viewing experience again.
Frequently asked questions
- Can I blur someone in a YouTube video I already posted?
- Yes. Open the uploaded video in YouTube Studio on a computer and use its Editor. If the visible face is a privacy problem, change the video to Private while you work, then review the saved result before making it public again.
- Why is the face still visible after I added blur?
- Check whether you saved the edit and whether processing has finished. Then inspect the exact moment: the blur may start too late, end too early, or miss the face after movement. Keep the upload private while investigating. A good-looking editor preview is not enough to approve the watch-page result.
- Will a new video file keep my existing YouTube link?
- No. A newly uploaded file gets a new URL. If you decide to correct the source in another editor and upload it again, update the links and embeds you control after checking the new upload.
- Is an unlisted video private enough while I fix a face?
- Anyone with an unlisted link can watch and share it. Choose Private when you need to restrict viewing during a correction, and check whether you previously shared the private video with anyone.
- What if the face is still recognizable through the blur?
- Do not approve that version. Try a different treatment in your source editor, such as a complete opaque cover, a crop that removes the person, or removing the shot. Review the new export through the whole affected interval before uploading.
Stand Out While Staying Anonymous
Join thousands of creators building faceless brands with Neoface. Private by default, lifelike by design.
No credit card required · Instant access · Free plan available